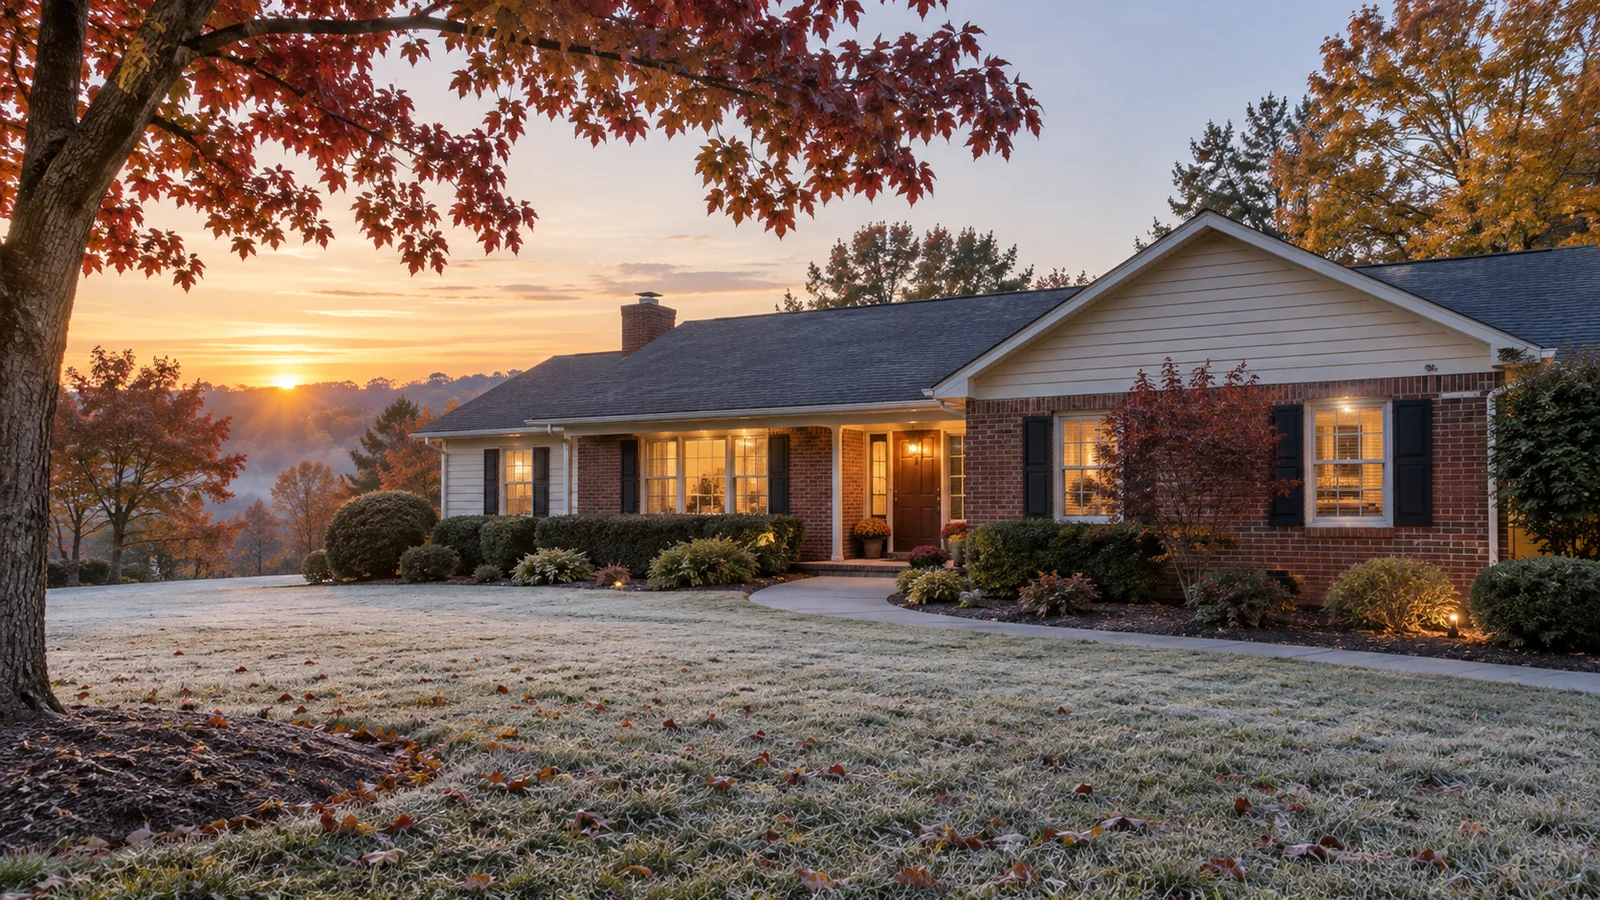
"I can't get rid of the smell." That's how Linda started the conversation when she called us about her 1967 ranch home in southwest Winston-Salem. She'd tried everything: air fresheners, carpet cleaning, ozone treatments, even replacing the hall carpeting. Nothing worked. The musty, damp smell persisted, especially in humid weather. Her HVAC contractor suggested the problem was coming from below—her crawl space.
He was right. What we found was a textbook case of chronic crawl space moisture problems: standing water, wet insulation, mold growth on floor joists, and conditions that were not only causing odors but actively damaging her home's structure. This is the story of how we diagnosed the root causes and implemented a comprehensive solution that permanently solved Linda's moisture problems.
The Home: A Classic 1960s Ranch
Before we dive into the problems and solutions, let's understand the home we were working with:
Property Details
- Location: Southwest Winston-Salem, established neighborhood near Hanes Mall
- Built: 1967
- Style: Single-story ranch, slab foundation in main living area with crawl space under addition
- Size: 1,800 square feet (1,200 on slab, 600 sq ft addition over crawl space)
- Crawl space: 600 square feet, approximately 30 inches of clearance
- Lot: Sloped lot with house positioned mid-slope
Like many homes built in the 1960s, Linda's ranch was well-constructed for the era but included design elements that modern building science has proven problematic—particularly vented crawl spaces in humid climates.
The Symptoms Linda Was Experiencing
- Persistent musty smell: Present year-round, worse in summer and after rain
- Humidity: First-floor rooms felt damp and clammy in summer despite AC running
- Mold concerns: Visible mold on shoes stored in hall closet
- Health: Linda developed seasonal allergies (she suspected mold-related)
- Structural concerns: Floors felt "soft" or "bouncy" in certain areas
- Increased HVAC runtime: Air conditioner running constantly but home never felt dry
The Inspection: Uncovering the Full Scope
We scheduled a comprehensive inspection for a day in June—perfect timing to see conditions during humid weather. What we found confirmed Linda's HVAC contractor's suspicion: serious moisture problems originating in the crawl space.
Crawl Space Conditions
Standing Water and Extreme Dampness
- Standing water (2-3 inches deep) in northwest corner after recent rain
- Damp, saturated soil throughout entire crawl space
- Mud/clay soil (high moisture-retention characteristics)
- No vapor barrier present (bare earth exposed)
- Visible moisture "sweating" on foundation walls
Structural Moisture Damage
- Floor joists showing dark staining (indicating chronic moisture exposure)
- Active mold growth on floor joists in multiple areas
- Wood moisture content: 24-28% (safe level is below 19%)
- One joist showing early signs of rot (soft spots when probed)
- Subfloor delamination in the area with soft/bouncy floors
Insulation Failure
- Fiberglass batt insulation installed between floor joists (typical for 1960s)
- Insulation completely saturated with moisture
- Sagging and falling down in multiple locations (30% had fallen or was hanging loose)
- Visible mold on insulation facing
- R-value reduced to near-zero due to moisture saturation
Ventilation: Inadequate and Counterproductive
- Four foundation vents (code-compliant for 1967)
- All vents open (as was standard practice)
- During summer: Vents bringing in hot, humid outdoor air (80% RH) into cool crawl space
- Result: Condensation forming on cool surfaces, adding MORE moisture instead of removing it
Drainage Problems
- Gutters present but one downspout disconnected
- Downspouts dumping water within 3 feet of foundation
- Yard grading sloping TOWARD house in two locations
- No perimeter drain or drainage system
- Crawl space positioned at low point of lot, collecting runoff
Humidity Measurements
Using professional-grade meters, we measured:
- Crawl space relative humidity: 87% (should be 45-55%)
- Indoor relative humidity (first floor): 68% (should be 40-50%)
- Outdoor relative humidity: 78%
- Crawl space temperature: 72°F
- Outdoor temperature: 86°F
That 87% RH in the crawl space was prime territory for mold, mildew, and wood rot.
The Root Causes: A Perfect Storm
Linda's moisture problems weren't caused by a single issue—they were the result of multiple compounding factors:
Problem #1: Poor Exterior Drainage
Water wasn't being directed away from the foundation. Instead, it was flowing toward and under the house. This is the #1 cause of crawl space moisture problems.
Problem #2: No Vapor Barrier
Bare earth in the crawl space constantly evaporated ground moisture into the crawl space air—approximately 10-15 gallons per day in a 600 sq ft space. This moisture had nowhere to go.
Problem #3: Vented Crawl Space in Humid Climate
The open foundation vents—designed to "ventilate moisture out"—were actually bringing humid summer air IN, where it condensed on cool surfaces. This is a well-documented problem with vented crawl spaces in southeastern climates.
Problem #4: No Mechanical Dehumidification
With no dehumidifier or conditioned air supply, there was no way to actively remove moisture from the crawl space air.
Problem #5: Moisture-Absorbing Insulation
Fiberglass batts between floor joists acted like sponges, absorbing and holding moisture. This reduced R-value to near zero and created perfect conditions for mold growth.
The combination created a self-perpetuating moisture cycle that couldn't be broken by addressing just one issue.
The Solution: Comprehensive Crawl Space Encapsulation
We presented Linda with a comprehensive approach addressing all root causes. The investment was significant, but so were the problems—doing less than a complete solution would have been wasting money on band-aids.
Proposed Scope of Work
Phase 1: Exterior Drainage ($2,100)
- Regrade yard areas sloping toward foundation
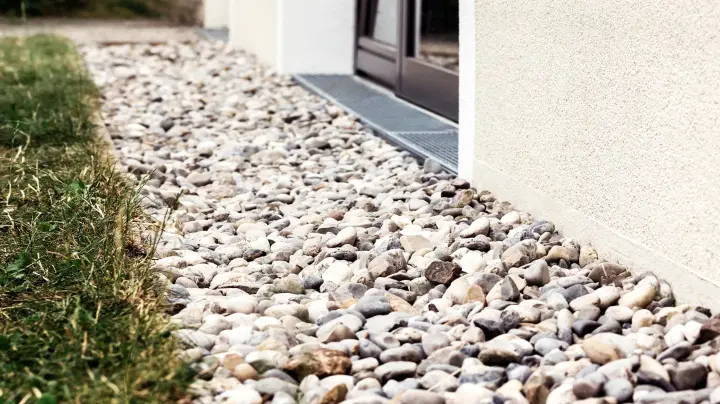
- Extend all downspouts with buried drainage to discharge 10+ feet from foundation
- Install French drain along uphill side of house to intercept runoff
- Create swale to redirect surface water around property
Phase 2: Crawl Space Remediation ($1,800)
- Remove all failed insulation and debris
- Treat mold on floor joists with antimicrobial solution
- Sister-reinforce the one damaged joist
- Address subfloor delamination
- Remove standing water and debris
Phase 3: Crawl Space Encapsulation ($3,600)
- Install heavy-duty 20-mil reinforced vapor barrier covering 100% of crawl space floor
- Seal vapor barrier to foundation walls
- Seal all crawl space vents permanently
- Seal crawl space access door with insulated, weatherstripped panel
- Insulate foundation walls with closed-cell spray foam (R-10)
- Install commercial-grade crawl space dehumidifier
- Ensure proper drainage within crawl space
Total investment: $7,500
Linda's Decision
"That's more than I expected," Linda said when reviewing the proposal. "But I also didn't expect to find wood rot and standing water under my house. What happens if I don't do all this?"
We explained the likely progression:
- Continued structural deterioration (more joists affected, more rot)
- Eventual need for major structural repairs ($10,000-20,000+)
- Persistent health issues from mold exposure
- Decreased home value (moisture problems scare away buyers)
- Possible mold spreading into living spaces
- Continued wasted energy (moisture makes HVAC work harder)
"When you put it that way," Linda said, "spending $7,500 now to prevent $20,000 in repairs later makes sense."
She moved forward with the complete solution.
The Installation: Two Weeks from Problem to Solution
Week 1: Exterior Work
We started outside because there's no point in creating a dry crawl space if water keeps flowing in from outside.
Days 1-2: Drainage and Grading
- Excavated and regraded problem areas
- Installed 60 feet of French drain along uphill side
- Extended all four downspouts with buried 4" PVC discharging to daylight
- Created swale to direct water around house
- Ensured all grading sloped away from foundation
Days 3-5: Testing and Verification
We let rain do the testing. A moderate rain midweek allowed us to verify:
- No water entering crawl space
- French drain functioning properly
- Downspouts discharging water well away from house
- Grading directing water away as designed
Week 2: Crawl Space Transformation
Days 1-2: Remediation
- Removed all failed insulation and debris (42 bags)
- Pumped out standing water
- Treated all moldy surfaces with antimicrobial
- Sistered 2x8 to compromised joist for reinforcement
- Installed plywood patch to repair subfloor delamination
- Allowed treated surfaces to dry for 24 hours
Days 3-4: Encapsulation
- Installed 20-mil CleanSpace vapor barrier across entire crawl space floor
- Ran vapor barrier 12 inches up foundation walls, sealed with adhesive
- Sealed all seams with special tape (no gaps)
- Insulated foundation walls with 2 inches closed-cell spray foam (R-10)
- Permanently sealed all foundation vents with foam board and spray foam
- Created insulated, weatherstripped access door panel
Day 5: Mechanical Dehumidification
- Installed commercial Aprilaire 1850 dehumidifier (95 pints/day capacity)
- Plumbed condensate drain to outside
- Set humidistat to maintain 50% RH
- Installed electrical for continuous operation
By the end of Week 2, Linda's crawl space was transformed from a damp, moldy disaster zone into a clean, dry, controlled environment.
The Results: Immediate and Dramatic
Week 1 Post-Completion
"The smell is gone," Linda reported after just five days. "I mean GONE. Not covered up—actually gone. I didn't realize how bad it had been until it disappeared."
Measurements after one week:
- Crawl space RH: 52% (was 87%)
- First-floor indoor RH: 48% (was 68%)
- Wood moisture content: 14-16% (was 24-28%)
- No musty odor detectable
One Month Follow-Up
We returned to verify the system was working properly:
- Crawl space RH: 48-51% (perfectly controlled)
- No visible moisture anywhere
- Vapor barrier dry, properly sealed, intact
- Dehumidifier operating normally, removing ~3 pints/day
- Wood moisture content: 12-14% (ideal)
- Floors felt solid—no more soft/bouncy spots
Linda's feedback: "My home feels different. The air quality is noticeably better. Rooms don't feel clammy anymore. And my seasonal allergies haven't been bad at all this year—I think eliminating the mold helped."
Six-Month Results
Humidity Control:
- Crawl space maintained 48-52% RH through entire summer
- Indoor humidity remained comfortable (45-50% RH)
- Dehumidifier operated efficiently, averaging 2-3 pints/day removal
Structural Protection:
- Wood moisture content remained stable at 11-13%
- No new mold growth
- Treated areas showed no reoccurrence
- Floor joists drying and stabilizing
Comfort and Air Quality:
- Zero musty odors
- Improved indoor air quality
- More consistent temperatures throughout house
- Reduced HVAC runtime (AC not fighting moisture load)
Energy Savings:
- Summer energy bills decreased by ~$45/month
- Annual savings: ~$400
- ROI: 18-19 years (but structural protection and comfort benefits are immediate)
One Year Later: Long-Term Success
We checked in with Linda after one full year of all four seasons:
"The crawl space work was the best decision I made since buying this house. No more smells, no more humidity problems, no more worrying about my floors rotting. My home inspector (I refinanced) said the crawl space looks professionally encapsulated and the structure is in good condition.
"Was $7,500 a lot of money? Yes. But what were my alternatives? Let the problem continue and eventually spend $20,000 on structural repairs? Live with mold and health issues? Try to sell a house with obvious moisture problems?
"I sleep better knowing my home's structure is protected. And I literally breathe easier—the air quality improvement is noticeable. If I'd known when I bought the house what was happening in the crawl space, I would have addressed it immediately."
Key Lessons from This Case Study
Lesson #1: Persistent Odors Usually Indicate Real Problems
Linda spent months trying to cover up smells instead of investigating the source. Persistent musty odors don't happen for no reason—they indicate moisture and likely mold. Address the cause, not the symptoms.
Lesson #2: Exterior Drainage Is Critical
Nearly 40% of Linda's project cost went to exterior drainage work. This might seem like a lot, but it's absolutely necessary—you can't solve crawl space moisture if you don't stop water from entering. Interior solutions without exterior drainage are doomed to fail.
Lesson #3: Vented Crawl Spaces Don't Work in Humid Climates
Linda's foundation vents were doing exactly what they were designed to do (allow air exchange)—but in North Carolina's humid climate, that makes moisture problems worse, not better. Sealed, encapsulated crawl spaces are the modern solution.
Lesson #4: Moisture Problems Compound Over Time
What started as dampness progressed to standing water, then mold, then wood rot, then structural concerns. The longer moisture problems persist, the more expensive they become to fix. Early intervention saves money.
Lesson #5: Comprehensive Solutions Are Worth the Investment
Linda could have spent $2,000 on a vapor barrier alone, but without addressing drainage, sealing vents, and adding dehumidification, the problem wouldn't have been solved. Comprehensive approaches cost more upfront but actually solve problems instead of creating expensive band-aids.
Warning Signs You Might Have Similar Issues
Linda's situation is common in homes built in the 1960s-1980s with crawl spaces. Warning signs include:
- Persistent musty or earthy smells, especially in humid weather
- First-floor rooms feel damp or clammy despite AC
- Soft, bouncy, or squeaky floors
- Visible mold on stored items in closets
- Condensation on windows or walls
- Increased allergy or respiratory symptoms at home
- Seasonal pest problems (moisture attracts insects and rodents)
- High humidity readings on indoor hygrometer (above 55% RH)
- Peeling floor tiles or warping hardwood
If multiple signs apply, your crawl space needs professional assessment.
Is Your 1960s (or 70s, or 80s) Home Hiding Moisture Problems?
Most homeowners never look in their crawl space. Out of sight, out of mind—until smells, structural problems, or health issues force the issue.
At 4 Seasons Insulation, we provide comprehensive crawl space inspections and encapsulation services throughout Winston-Salem, Greensboro, and High Point. We'll:
- Thoroughly inspect your crawl space (including moisture readings and structural assessment)
- Identify all moisture sources (interior and exterior)
- Assess any existing damage
- Provide comprehensive solutions that address root causes
- Give you honest recommendations (we'll tell you if problems aren't serious)
- Explain exactly what work is necessary vs. optional
We specialize in solving moisture problems, not just covering them up. Our encapsulation work comes with proper drainage, sealed vapor barriers, and mechanical dehumidification—everything needed for long-term success.
Concerned about musty smells or moisture in your home? Contact us for a free crawl space inspection. We'll show you exactly what's happening below your home and what solutions make sense for your situation and budget.
Because your home's structure is too important to ignore—and your family's health is too valuable to compromise.